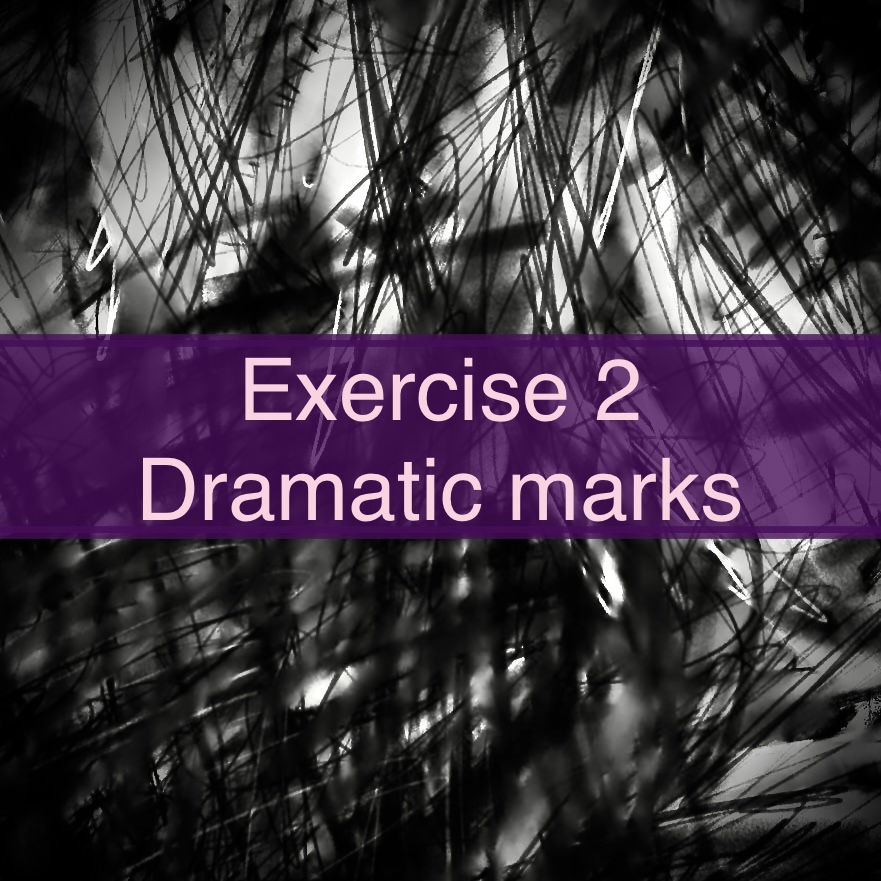
1. Marks and lines - Dramatic marks
- Vicky Thompson
- Apr 22, 2022
- 3 min read
Updated: May 15, 2022

Part 1 (false start)
I started a charcoal version of this exercise: (see - charcoal laden page which I will return to)

Unfortunately, my rather enthusiast scribblings woke up my husband who had an early start…. So for the sake of my marriage….. I decided I might try the second part of this exercise using my tablet.
Part 2
The task suggested using graphite pencils to make the dark base, using a putty rubber to lift areas of the graphite to create subtractive tone, and then to go back in using charcoals/pen/other materials. I concluded that the range of brushes available on Adobe Fresco should be able to support me in creating this same effect using my tablet and Apple Pencil.
I decided to work on a single layer, to stay as true to the analogue experience as possible, selected a graphite “brush” and layered down the dramatic base. Due to the sensitivity of the Apple pencil, I was able to darken the dramatic marks with both pressure and additional layering of the marks
I then switched to the eraser tool, chose a brush that appeared to create similar marks to a putty rubber, and set about creating the subtractive tone. One thing the brush didn’t replicate particularly well was the softened smudged/blended edges to the area erases by a putty rubber. To simulate the blending, I used the blur tool to soften the edges.
Having lifted areas of the page, I went back over these areas with a range of different brush types including “old nib pen”, “vine charcoal” and ”compressed charcoal” to commence the drama.
As I drew, I realised it reminded me of what I see when I close my eyes during and ocular migraine. I decided to continue down that avenue of thought and continued to lift and layer more marks to create an abstract piece that represents the aura that plagues me from time to time. I felt that seemed to work well with the dramatic mark making brief.
Here’s what I ended up with:

As I looked at it, I realised there was something missing in terms of the image being representative of my migraines….and that was movement.
I used an app called MotionLeap which allowed me to create masks of the areas I wanted animated, and multiple lines across the image to determine the direction of the animation.
With the zigzags, I wanted them to begin to pulse outwards as they tend to grow and consume my vision. Towards the centre I created two swirls that went in opposing directions, and on the bottom left I wanted to keep the black lines on the dark background moving as I they never seem to stay still when I try to focus my gaze on the dark areas.
warning….although this won’t trigger a migraine, it does make you feel a bit ick looking at it if you are a sufferer.
Part 1 (second attempt)
I have since managed to return to the initial part of the exercise using the A4 pad, charcoal sticks and putty rubber.
I had really given it some in terms of layering on that base. My putty rubber did barely more than move around a layer of charcoal dust, let alone break through to the paper underneath.
I ended up giving it a bit of a rub with some tissue to try and give my putty rubber a fighting chance of making some subtractive tonal marks.
Finally, with some real determination and an immense amount of charcoal dust, I could start to see the lightness of paper peeking through. I kept reshaping my rubber to try and make more precise highlights but it wasn’t working very well as the layer of charcoal was so hard to penetrate.
Once I had lifted some areas, I went back in with willow charcoal and the corner of the compressed charcoal to make some bold contrasting marks. I lifted with the rubber and went back in with more line work about 5 more times in an attempt to create layers on layers of dramatic mark making.
Here’s what I ended up with:


Comments